


Essential Techniques for Athletes, Trainers, and Healthcare Professionals
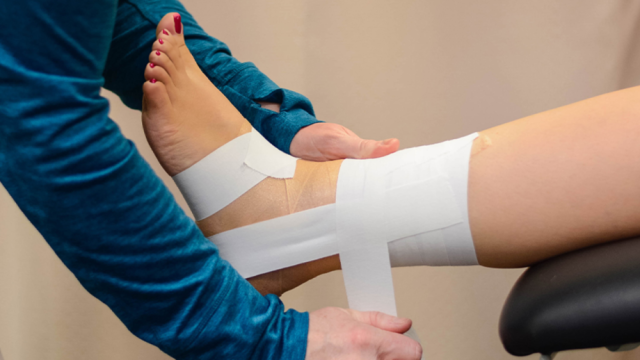
Ankle taping is an essential skill for athletes, sports trainers, and healthcare professionals to master. It plays a crucial role in both preventing injuries and aiding in the recovery process when injuries do occur. Understanding how to tape ankles correctly is important to ensure that the support is effective and does not impede circulation or movement unnecessarily. Here's a step-by-step guide on how to tape ankles the right way, ensuring maximum protection and stability.
For best results, we recommend consulting a trained specialist with expertise in the required techniques, like Courtney LaFreniere, ATC, who provided the information for this article.
Why Tape Ankles
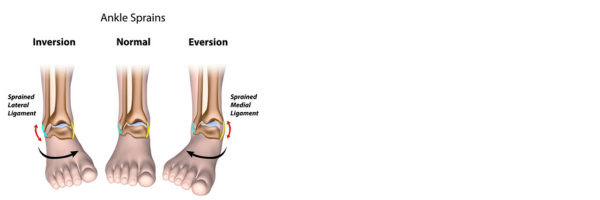
Taping your ankles adds stability to the joint to help prevent sprains by stopping too much side-to-side movement. It also compresses, improving blood flow and reducing swelling during activity.
How to Know If You Need Ankle Support
You may need to tape your ankle depending on the situation. Common scenarios include:
- Injury Prevention: Tape before activities with a high risk of ankle injury, like sports.
- Post-Injury Support: It provides stability after an injury.
- Reinforcement During Recovery: Taping helps prevent re-injury as you get stronger and more mobile.
- Performance Enhancement: Athletes sometimes tape their ankles for extra support to improve performance.

Best Practices for Taping your Ankle
Choosing where to tape your ankle is based on where you need the most support. To stabilize the joint, focus more tape on the sides of the ankle and under the heel. For specific tendon or ligament issues, you may need to adjust the placement. Reinforce weak or previously injured areas, but don't restrict movement or circulation.
Taping Guide
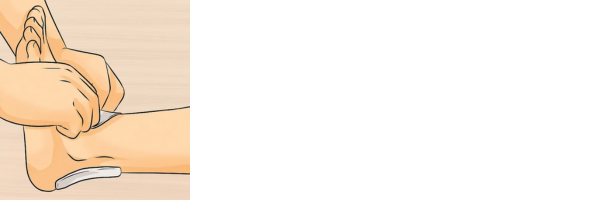
1. Preparation: Make sure the ankle is clean and dry. Keep the foot at a 90-degree angle.

2. Anchor Strips: Place two anchor strips around the ankle on the lower leg.
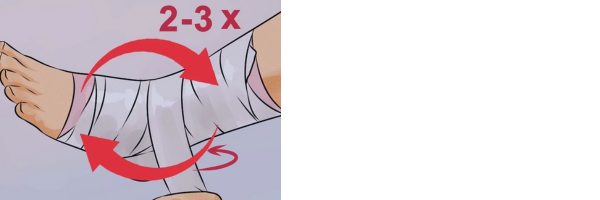
3. Stirrup Strips: Put stirrup strips from inside the ankle, under the heel, and up the outside. Do this three times, slightly overlapping each strip.

4. Figure-Eight Pattern: Start inside the foot, wrap over the top, around the back of the ankle, and under the foot arch. Repeat twice.
5. Heel Locks: Wrap tape around the heel and secure it on both sides of the ankle. Do this twice for more stability.

6. Closing Strips: Cover any exposed pre-wrap and secure all loose tape ends with closing strips.
Taping Tips
- Make sure the tape is firm but not too tight to avoid cutting off blood flow.
- Watch for any discomfort or restricted movement.
- Practice taping regularly to improve your skills.
For more guidance, watch our video here featuring Courtney LaFreniere, ATC.
Proper taping can greatly reduce the risk of injury and aid in faster recovery. It's an easy step that can have a significant impact on maintaining good health and optimal performance. Use taping to support your body, prevent injuries, and speed up recovery while you're active.
For continuous 24/7 assessment and professional orthopedic advice, sign up for the HURT! App on your desktop or mobile device.
This information is provided as an educational service and is not intended to serve as medical advice. If you are seeking specific orthopedic advice or assistance, please consult with your OrthoCarolina physician or locate one in your area through OrthoCarolina’s website at www.OrthoCarolina.com.
Back
Leave a Comment